Improve Your Clothes Dryer's Efficiency with These Dryer Duct Tips.
Follow these duct tips for better dryer efficiency.
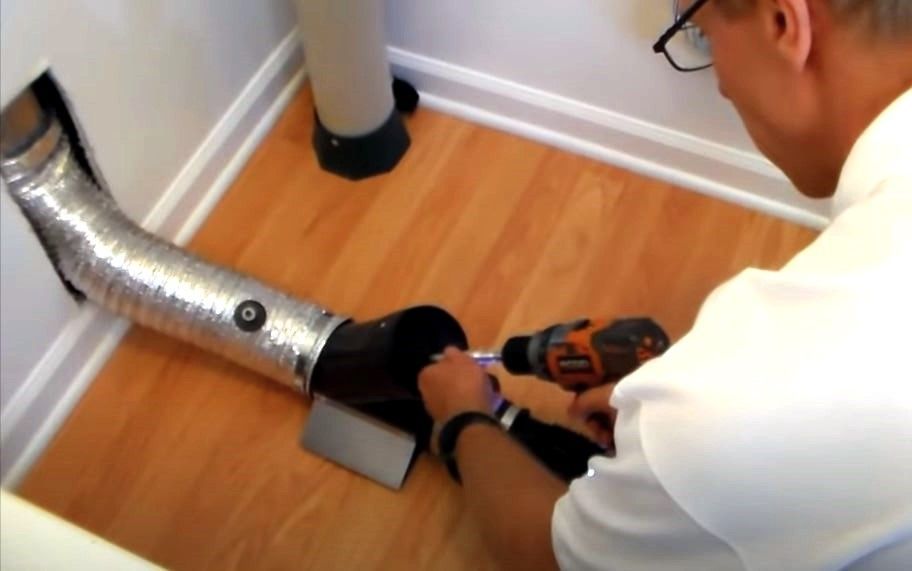
When clothes go into the dryer, they are cool and damp. Once they're done, they come out dry and warm. But have you ever wondered where the moisture goes? The answer lies in the dryer duct, the crinkly silver tube that extends from the back of your dryer into the wall. Your dryer duct is crucial for efficient drying. If it's not working well, your clothes won't dry effectively. Discover key tips to boost your clothes dryer's performance by optimizing the dryer duct in this article.
Straighten the Dryer Duct
The first step in improving dryer efficiency is to straighten out the duct. Over time, dryer ducts can become crumpled or twisted when the dryer is pushed back toward the wall. However, for effective airflow, the duct needs to be open and free from obstructions. If you have a shorter duct, it's easier to keep it straight. For longer ducts, you can pull them up or to the side to maintain a straight path. This allows you to push the dryer back without crumpling the duct.
Clean the Dryer Duct
Lint, a common byproduct of drying clothes, can accumulate in the dryer duct over time, obstructing airflow and reducing drying efficiency. To ensure optimal performance, it's important to clean the dryer duct periodically. Start by detaching the side of the duct closest to the dryer and remove any lint that has built up. If you notice a significant amount of lint, clear the entire duct from end to end. By keeping the duct free from lint, you can improve the airflow and enhance drying efficiency.
Ensure Proper Ventilation
A crucial aspect of dryer efficiency is ensuring that the dryer duct leads outdoors. The moisture-laden air expelled by the dryer needs to be vented outside, where it can safely evaporate without causing indoor humidity issues. Check if the duct aperture in your wall leads directly outdoors. If it doesn't, it's important to tackle this issue right away. Allowing warm, humid air to move around inside can encourage the growth of mold and fungus.
Remove Obstructions from Duct Outflow
In addition to lint buildup, obstructions can also hinder the airflow in your dryer duct. Check both the dryer-side end and the wall-outlet end of the duct to ensure they are clear of any blockages. Lint, leaves, or even overgrown bushes can obstruct the outflow of moist air. Remove any hindrances to enable efficient moisture expulsion from your dryer.
Replace a Damaged Dryer Duct
If you notice that your dryer duct is ripped or badly crumpled, it may be necessary to replace it. A damaged duct can significantly impact airflow and drying efficiency. Fortunately, replacing a dryer duct is a relatively simple task. Purchase a new length of duct and attach it to the dryer and wall vents where the old duct used to be connected. This ensures a smooth flow of moist air, improving your dryer's performance.
By implementing these dryer duct tips, you can enhance your clothes dryer efficiency and enjoy faster and more effective drying. Straightening the duct, cleaning out lint, ensuring proper ventilation, removing obstructions, and replacing damaged ducts are all essential steps in optimizing your dryer's performance. Regular maintenance and attention to the dryer duct will not only improve efficiency but also extend the lifespan of your dryer. If you encounter more serious performance concerns, it's advisable to contact professional dryer repair services. Remember, a well-maintained dryer duct leads to better drying results and saves you time and energy in the long run.

